Install a Capacitor
Whenever you accelerate hard with an electric RC car, the initial output of your batteries drops something like 0.5 - 1 volts... I've heard this drop heats up your battery, or heats up your esc and other consecuences. I don't know what really happens, but the motor experiences a loss of power, it doesn't works at full capacity.
The capacitor is a reserve which keeps the voltage from dropping hense the energy stored. In other words, when you are drifting for some time capacitor charges up and when you need that extra power the capacitor compensates that difference.
OK, now to the tutorial section. Sorry for the lack of pics.
Materials:
-Capacitor
-Soldering Iron & stuff to solder
-Wire
-Heat shrinking tube for the Pro look.
-Your ESC
-First you have to open your ESC, unless it has wiring tags outside, like some novak ESCs do.
-Anyways, the caps usually have a white stripe showing the negative. Solder a wire to the negative & positive legs. Place a piece of shrinking tube around the wires.
-Now solder the wires from the cap to the esc's board, where the black(negative) and red (positive) wires from the battery are soldered. If you are affraid to open your esc you can solder it anywhere between your esc's battery plug and the ESC itself, but I was more afraid to cut the wires :roll:
-Close your ESC. Attach the Cap somewhere and you're ready to run! Whenever you accelerate hard with an electric RC car, the initial output of your batteries drops something like 0.5 - 1 volts... I've heard this drop heats up your battery, or heats up your esc and other consecuences. I don't know what really happens, but the motor experiences a loss of power, it doesn't works at full capacity.
The capacitor is a reserve which keeps the voltage from dropping hense the energy stored. In other words, when you are drifting for some time capacitor charges up and when you need that extra power the capacitor compensates that difference.
OK, now to the tutorial section. Sorry for the lack of pics.
Materials:
-Capacitor
-Soldering Iron & stuff to solder
-Wire
-Heat shrinking tube for the Pro look.
-Your ESC
-First you have to open your ESC, unless it has wiring tags outside, like some novak ESCs do.
-Anyways, the caps usually have a white stripe showing the negative. Solder a wire to the negative & positive legs. Place a piece of shrinking tube around the wires.
-Now solder the wires from the cap to the esc's board, where the black(negative) and red (positive) wires from the battery are soldered. If you are affraid to open your esc you can solder it anywhere between your esc's battery plug and the ESC itself, but I was more afraid to cut the wires :roll:
-Close your ESC. Attach the Cap somewhere and you're ready to run!
Keep in mind that the higher capacity capacitor you pick takes more time for it to charge up, but more power reserve to use. So experiment with them, see which one suits you most. I use a 4700uF, 25v. Anything of 10v-24v should work. You shouldn't go further than 10000uF though.
It is posible to use two small capacitors instead of one big cap. This combination, wired parallel, will only increase the total capacity.
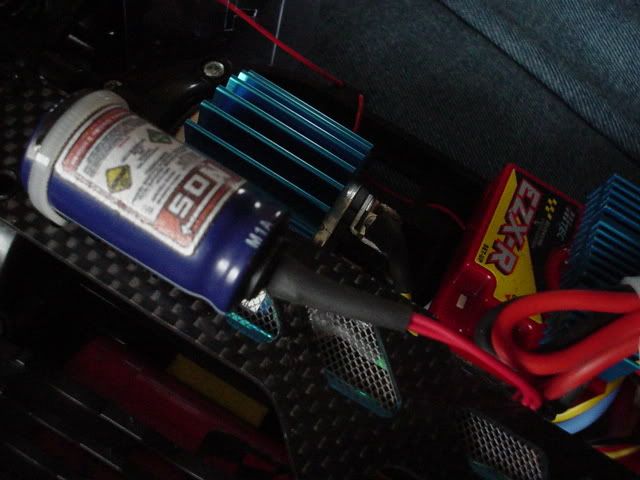
For the Nos look, just print the Nos label I mdified (Paint ownz!) and place it on the Cap. Easy as that.
Keep in mind that the higher capacity capacitor you pick takes more time for it to charge up, but more power reserve to use. So experiment with them, see which one suits you most. I use a 4700uF, 25v. Anything of 10v-24v should work. You shouldn't go further than 10000uF though.
It is posible to use two small capacitors instead of one big cap. This combination, wired parallel, will only increase the total capacity.
For the Nos look, just print the Nos label I mdified (Paint ownz!) and place it on the Cap. Easy as that.